Enhancing your hair with highlights is a wonderful way to bring depth, dimension, and a natural sun-kissed glow to your style. While professional highlights at the salon are popular, you can achieve beautiful highlights at home without needing the traditional foil method. If you’re interested in skipping the chemicals and heat often involved in foil highlighting, or if you simply prefer a more natural and gentle approach, there are various techniques you can try for stunning, at-home results. This guide will walk you through easy, effective methods for adding highlights to your hair without foil.
Benefits of Foil-Free Hair Highlighting
Foil is commonly used in highlighting because it isolates sections of hair, allowing for precise lightening, especially when bleach is involved.
However, foil isn’t the only way to get beautiful highlights. Here are some reasons why many choose foil-free methods:
Reduced Damage: Foils often involve higher heat and stronger chemicals, which can be tough on hair, particularly if it’s already dry or fragile. Highlighting without foil allows for gentler methods that minimize hair stress.
More Natural Look: Without foil, highlights tend to blend more naturally, creating a softer, sun-kissed look rather than the more defined, contrasting effect foils can produce.
Simplicity and Convenience: Foil-free techniques usually require fewer materials and are often easier to manage, making them a great choice for beginners or anyone wanting a more DIY-friendly approach.
Materials You Will Need
Credit: Instagram – @
To highlight your hair at home without using foil, you don’t need any special tools. Here’s a list of what you’ll need:
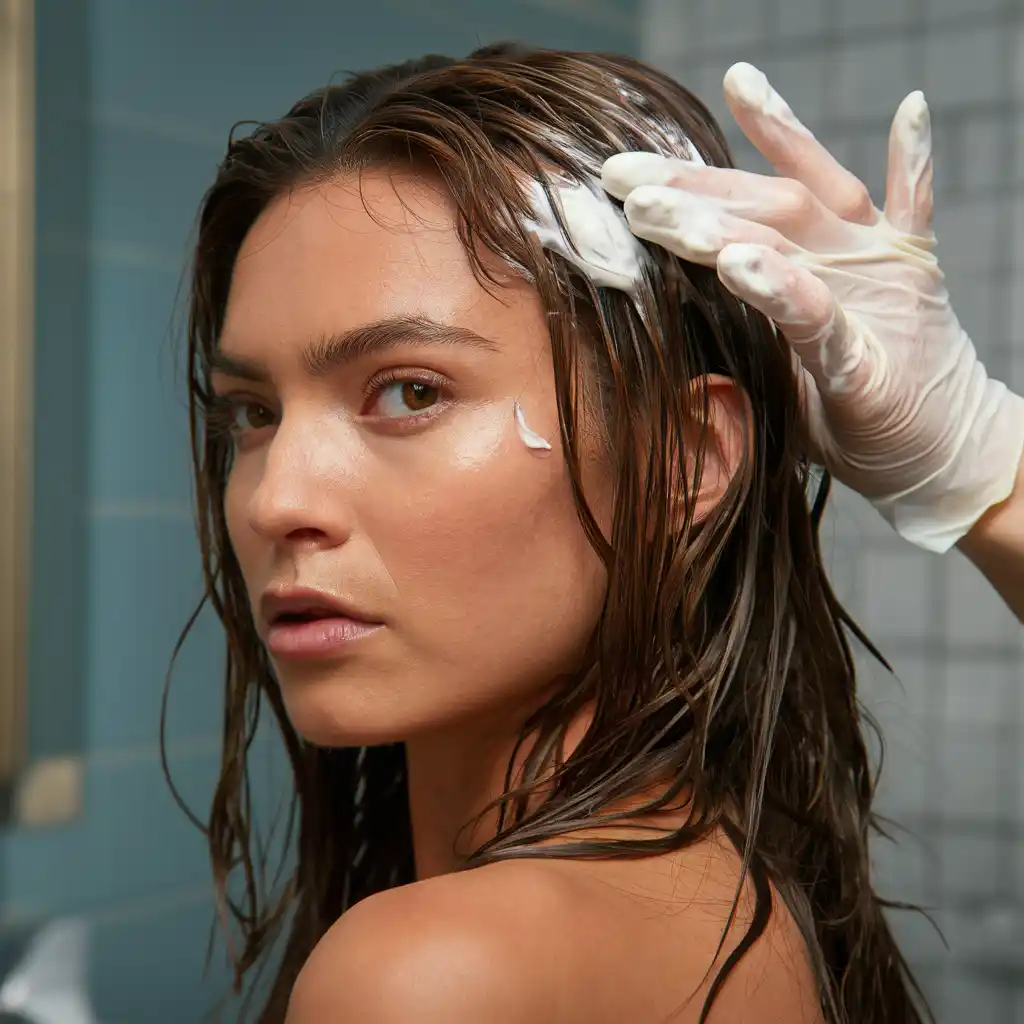
Highlighting kit or bleach: You can purchase a ready-made kit or mix your own using bleach powder and a developer (20 or 30 volume, based on your hair color).
Gloves: Protect your hands from bleach or hair dye by wearing disposable gloves.
Plastic or glass bowl: Use a non-metallic bowl to mix the bleach, as metal can cause a reaction.
Highlighting brush or toothbrush: These tools help apply the lightening product precisely to your hair.
Comb: A fine-tooth comb is ideal for sectioning your hair and creating the backcombing effect.
Shampoo and conditioner: Choose a sulfate-free shampoo and a nourishing conditioner for post-treatment care.
Techniques for Highlighting Hair Without Using Foil
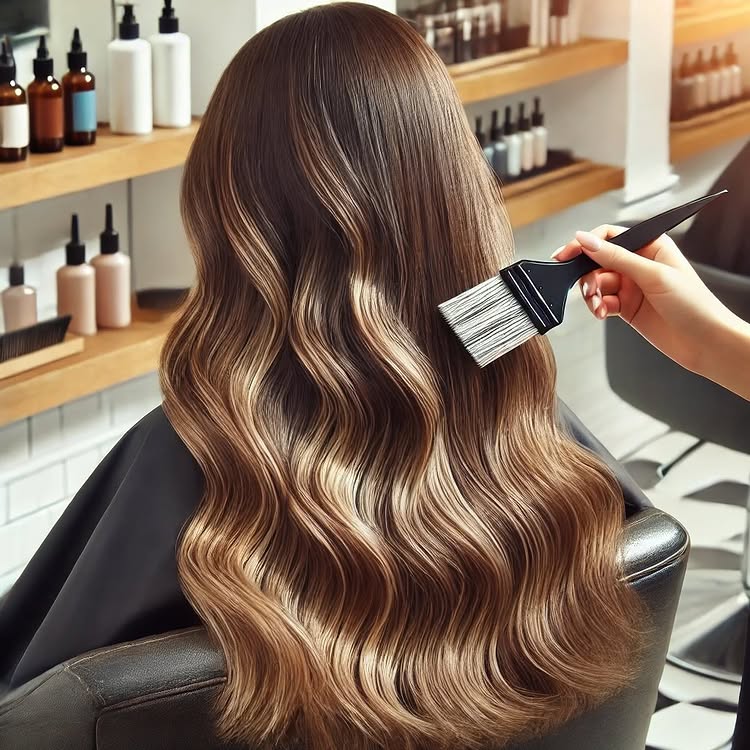
1. Balayage Technique

Credit: Instagram – @frenchgirlhair
Balayage is a popular foil-free method that creates natural-looking highlights. The French term “balayage” means “to sweep,” which describes the technique of applying color by hand.
To achieve this look at home, follow these steps:
Prepare your hair: Wash your hair the day before highlighting, as hair that’s not freshly washed holds color better without being too greasy.
Mix the lightening product: Follow the instructions provided with your highlighting kit, or mix your bleach and developer in a non-metallic bowl.
Section your hair: Divide your hair into four sections, two in the front and two in the back, using clips. Work on one section at a time.
Hand-paint the highlights: Using a highlighting brush or toothbrush, gently paint the bleach onto the mid-lengths and ends of small hair sections, focusing more on the outer layers to maintain a natural look.
Feather upwards: As you apply the bleach, use vertical strokes to feather the product upwards toward the roots, avoiding harsh lines. This ensures a smooth, gradient transition from your natural color to the lighter shade.
2. Cap Highlighting Method

Cap highlighting is a classic, foil-free method that gives a more controlled approach to lightening hair. You can either purchase a specialized highlighting cap or create your own by using a shower cap or disposable cap with holes.
Put on the cap: Secure the highlighting cap over your head, ensuring it fits snugly and comfortably.
Pull sections of hair through: Use a highlighting needle or the end of a rat-tail comb to pull small strands of hair through the holes in the cap.
Apply the bleach: Prepare your lightening product and apply it to the hair that’s been pulled through the cap. Make sure each strand is evenly coated.
Let it develop: Follow the recommended processing time from your product’s instructions, checking the color every few minutes to achieve the desired lightness. Rinse: Once the bleach has processed, remove the cap and rinse your hair thoroughly. Finish by shampooing and conditioning as you normally would.
3. Comb Through Technique
Credit: Instagram – @chiccharm_beauty
The comb through technique is a simple and low-maintenance method for adding natural-looking highlights without using foil.
Prepare the bleach mixture: Follow the instructions to mix your bleach and developer.
Section your hair: Divide your hair into sections using clips to keep things organized.
Dip the comb in bleach: Take a fine-tooth comb and dip it into the bleach mixture.
Comb through your hair: Lightly comb the bleach mixture through random sections of your hair, focusing on the mid-lengths and ends. This technique creates soft, streaky highlights for a more subtle look. Process and rinse: Let the bleach process for the recommended time, then rinse your hair thoroughly to reveal the highlights.
4. Hair Chalk or Lemon Juice for Temporary Highlights
Credit: Instagram – @britehair
For a temporary and more natural option, hair chalk or lemon juice can be a great choice for experimenting with highlights.
Hair Chalk: Ideal for those wanting to try out bold, vibrant colors, simply rub the chalk onto the sections of hair you want to highlight. Finish by setting it with hairspray to ensure the color stays in place.
Lemon Juice: For a gentle, chemical-free approach, spray lemon juice onto your hair and spend a few hours in the sun. Over time, the lemon juice naturally lightens your hair, giving you soft, sun-kissed highlights.